How to publish GroovePages with Cloudflare

In this article, you’ll learn how to publish GroovePages with cloudflare using either GroovePages’s subdomain or your domain name with SSL Certificate.
We have prepared a video and also step-by-step guide that you can easily follow, all it takes is about 5 minutes to get your cloudflare setup to publish your GroovePages site.
Publishing your pages and site in GroovePages is free, it also includes free custom subdomain and SSL integration.
You can simply sign up for a free GrooveFunnel account and use GroovePages for free.
You can purchase your domain name at any registry or at NameCheap. Also, you can check out how to purchase your domain name here.
The benefits of owning your domain name gives you more positive perception like credibility and professionalism.
GroovePages is one of GrooveFunnels App that helps to create the following with a drag-and-drop builder:
- high converting sales pages
- Full navigation website
- Unlimited landing pages
Here is an in-depth review on GrooveFunnel if you’ll like to know more.
How To Publish GroovePages with cloudflare
You can check out this video on how you can publish your groovepages with cloudflare and follow along or simply scroll down below for more.
Step 1: Sign Up for Free CloudFlare Account
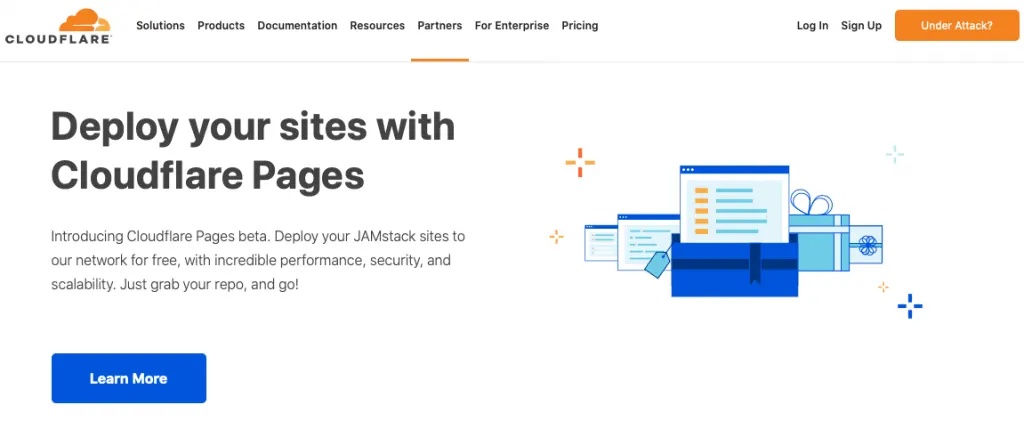
Go to Cloudflare‘s Website.
Step 2: For a free account
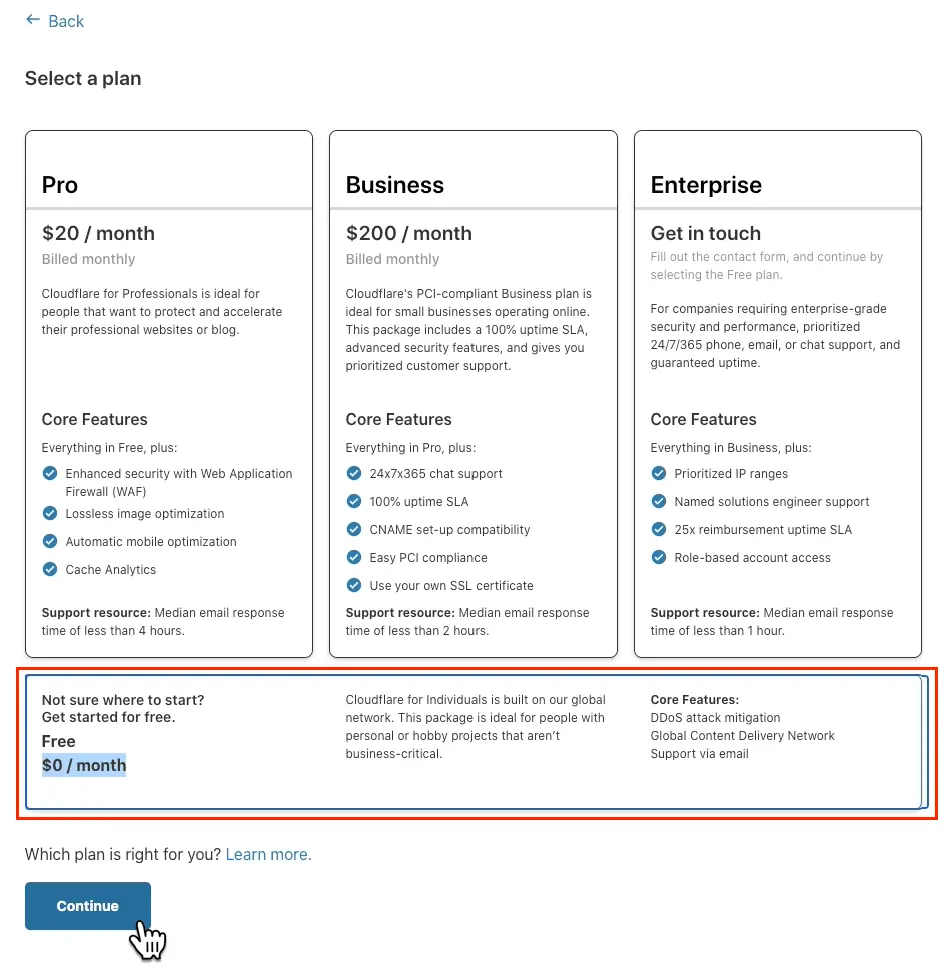
Navigate and look for the Free Account, make sure that it is selected.
Click on ‘Continue’
Check your inbox for Cloudflare’s email, you’ll need to verify your email address first.
Step 3: Enter Your Domain Name To Add A Site
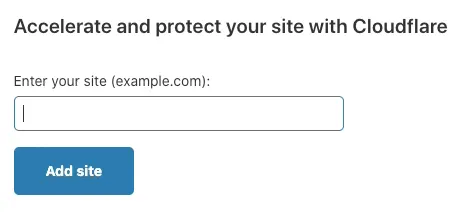
You’ll need to key in your domain name to continue on to the next step.
If you do not have a domain name, find out How To Buy Your Domain Name On Namecheap in 5 minutes.
Step 4: Review and update DNS records
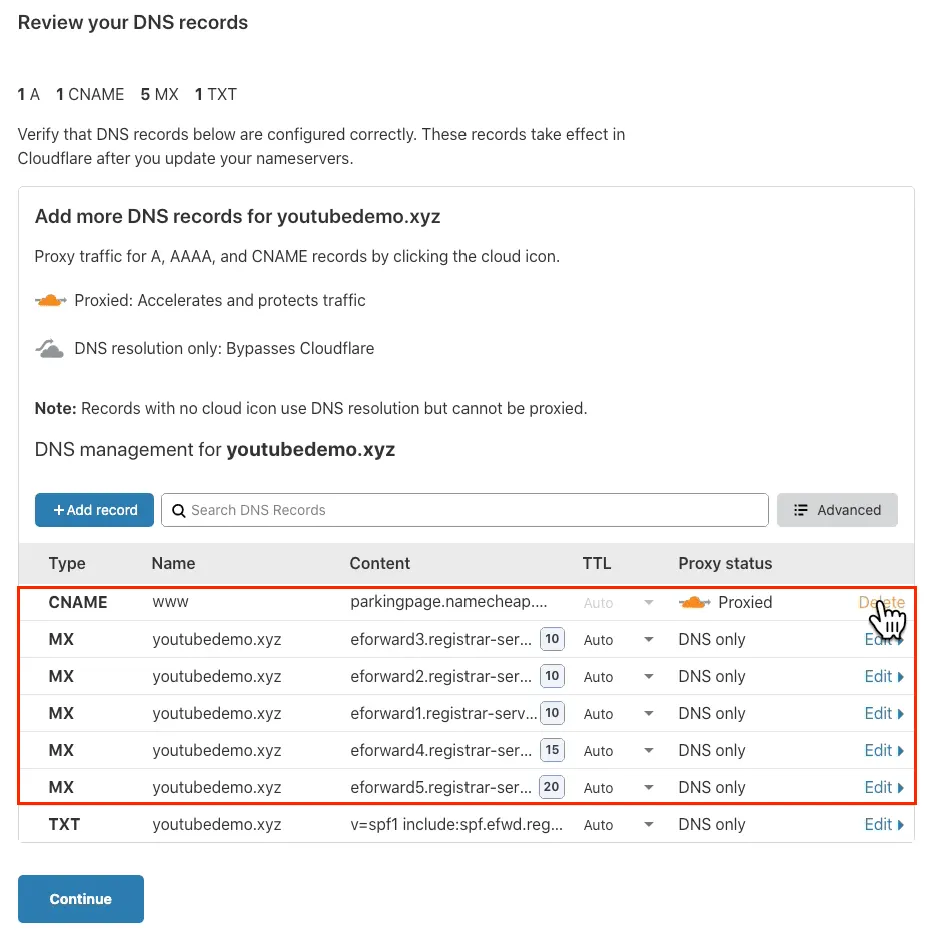
Update your DNS record with GroovePages’s Name Sever information.
1. Remove irrelevant information by selecting edit & delete
2. Add these 3 GroovePages CNAME records:
[table id=5 /]
You can add the CNAME Records by click on “ + add record”, under type select CNAME & input the value as shown.
Step 5: Replace Cloudflare’s Nameserver
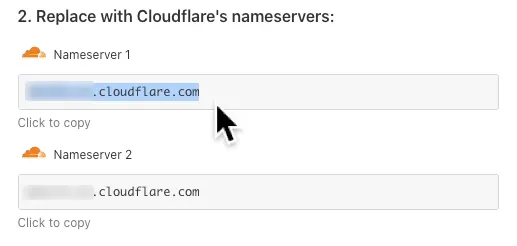
To find out what is your nameserver to be replaced in Cloudflare, you’ll need to go back to your domain name registrar’s dashboard and look for it.
The picture above shows NameCheap’s dashboard with details for the Nameserver 1 & Nameserver 2.
You’ll need to include both Namesever in Cloudflare and update in the two different field respectively.
Step 6: Configure SSL/TLS in CloudFlare
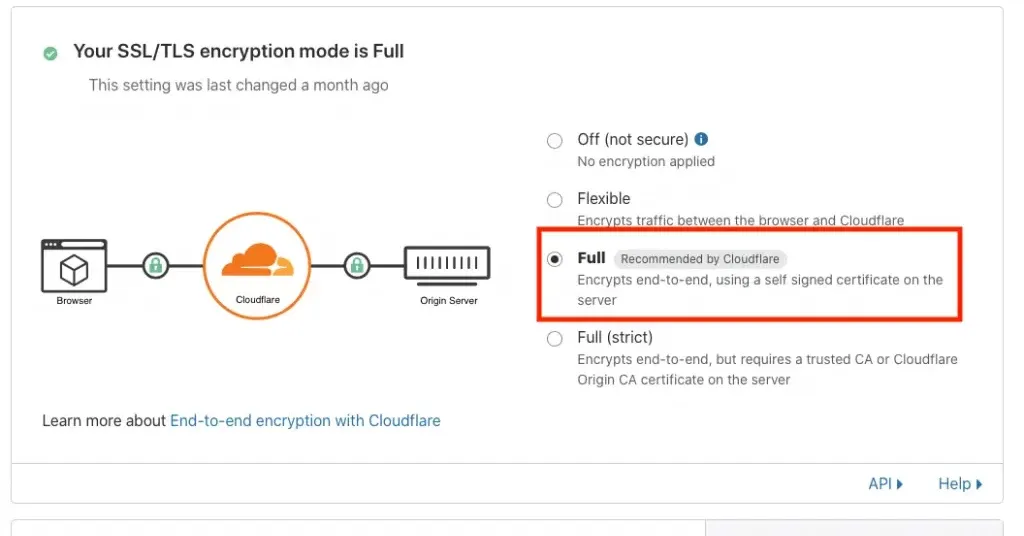
On your Cloudflare’s dashboard, you can select SSL/TLS icon.
By enabling ‘FULL’ encryption, you’re ensuring that your site is secured with a self signed certificate for your server.
Step 7: Create a Page Rules
Now, we need to create page rules.
The objective is to add HTTPS to your domain name address and its different domain name variations so that your website visitors are able to browse your website securely.
To do so, click on the ‘Page Rules’ and it will bring you its page as shown in the picture above.
Noticed that the bottom red box has been configured properly? You’ll need to click on Create Page Rule to replicate the example above.
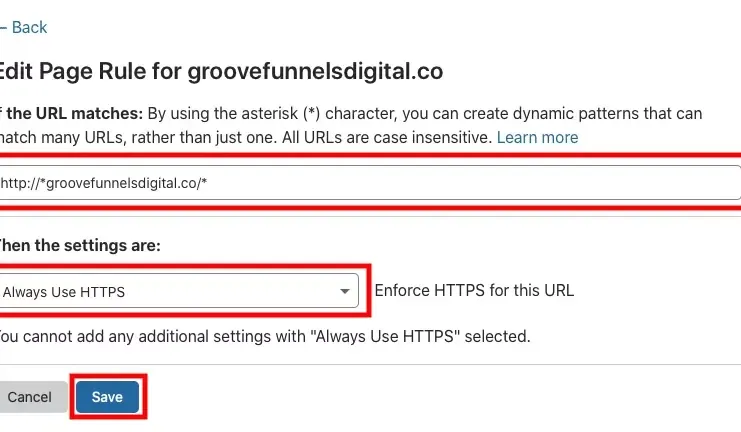
Step 8: HTTPS page rule

After clicking on ‘Page Rule’ you should see this edit field.
You’ll need to do the following:
– Key in your domain name in this format: http://*yourdomain.com/*
– Make sure that you have selected Always Use HTTPS and click on Save and deploy.
Step 9: Configure your Custom Domain or Domain in GroovePages
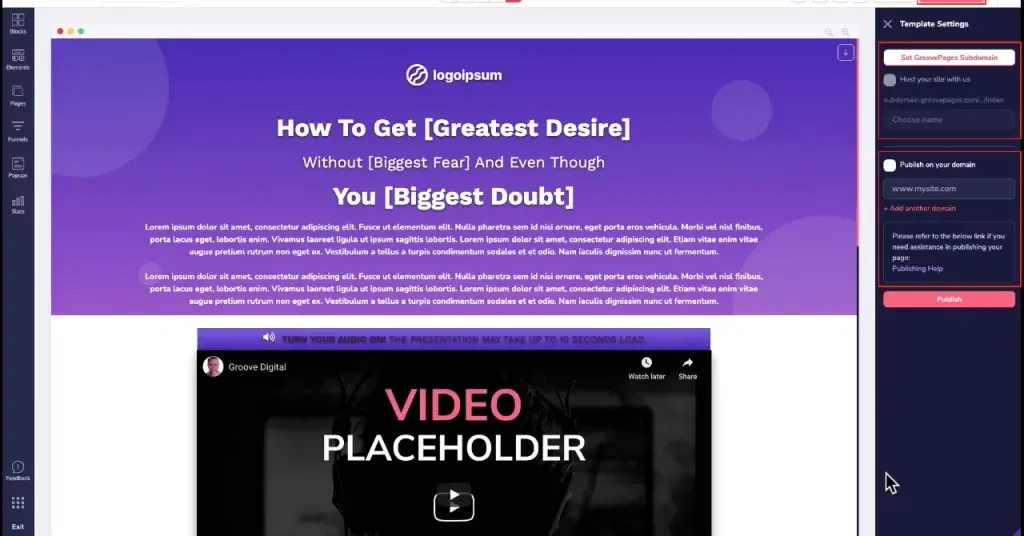
There are 2 options to publish your pages:
Publish with domain
– For example yourdomain.com
Publish with subdomain
– For example subdomain.groovepages.com
In your GroovePages, click on the “Publish” button. You will be able to see a right panel with the 2 options as shown. Pick one.
If you’re publishing your page with your domain name, only check the box that says “Publish on your domain” and enter your domain URL in the box.
If you’re publishing your page with your subdomain name, only check the box that says “Host your site with us” and enter your subdomain name in the box.
Lastly, click on Publish.
Tools:
- Subdomain;
- Domain,
- Free CloudFlare Account